Lab 1.7 – REST API Transactions
Task 1 – Create a Transaction
In this lab we will create a transaction using the REST API. Transactions are very useful in cases where you would want discreet REST operations to act as a batch operation. As a result the nature of a transaction is that either all the operations succeed or none of them do. This is very useful when creating a configuration that is linked together because it allows the roll back of operations in case one fails. All the commands issued, are queued one after one in the transaction. We will also review how to change the order of a queued command or remove a single command from the queued list before commiting.
Perform the following steps to complete this task:
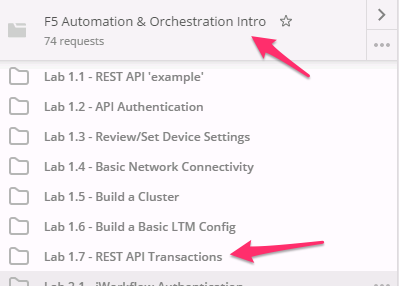
Expand the ‘Lab 1.7 – Rest API Transactions’ folder in the Postman collection:
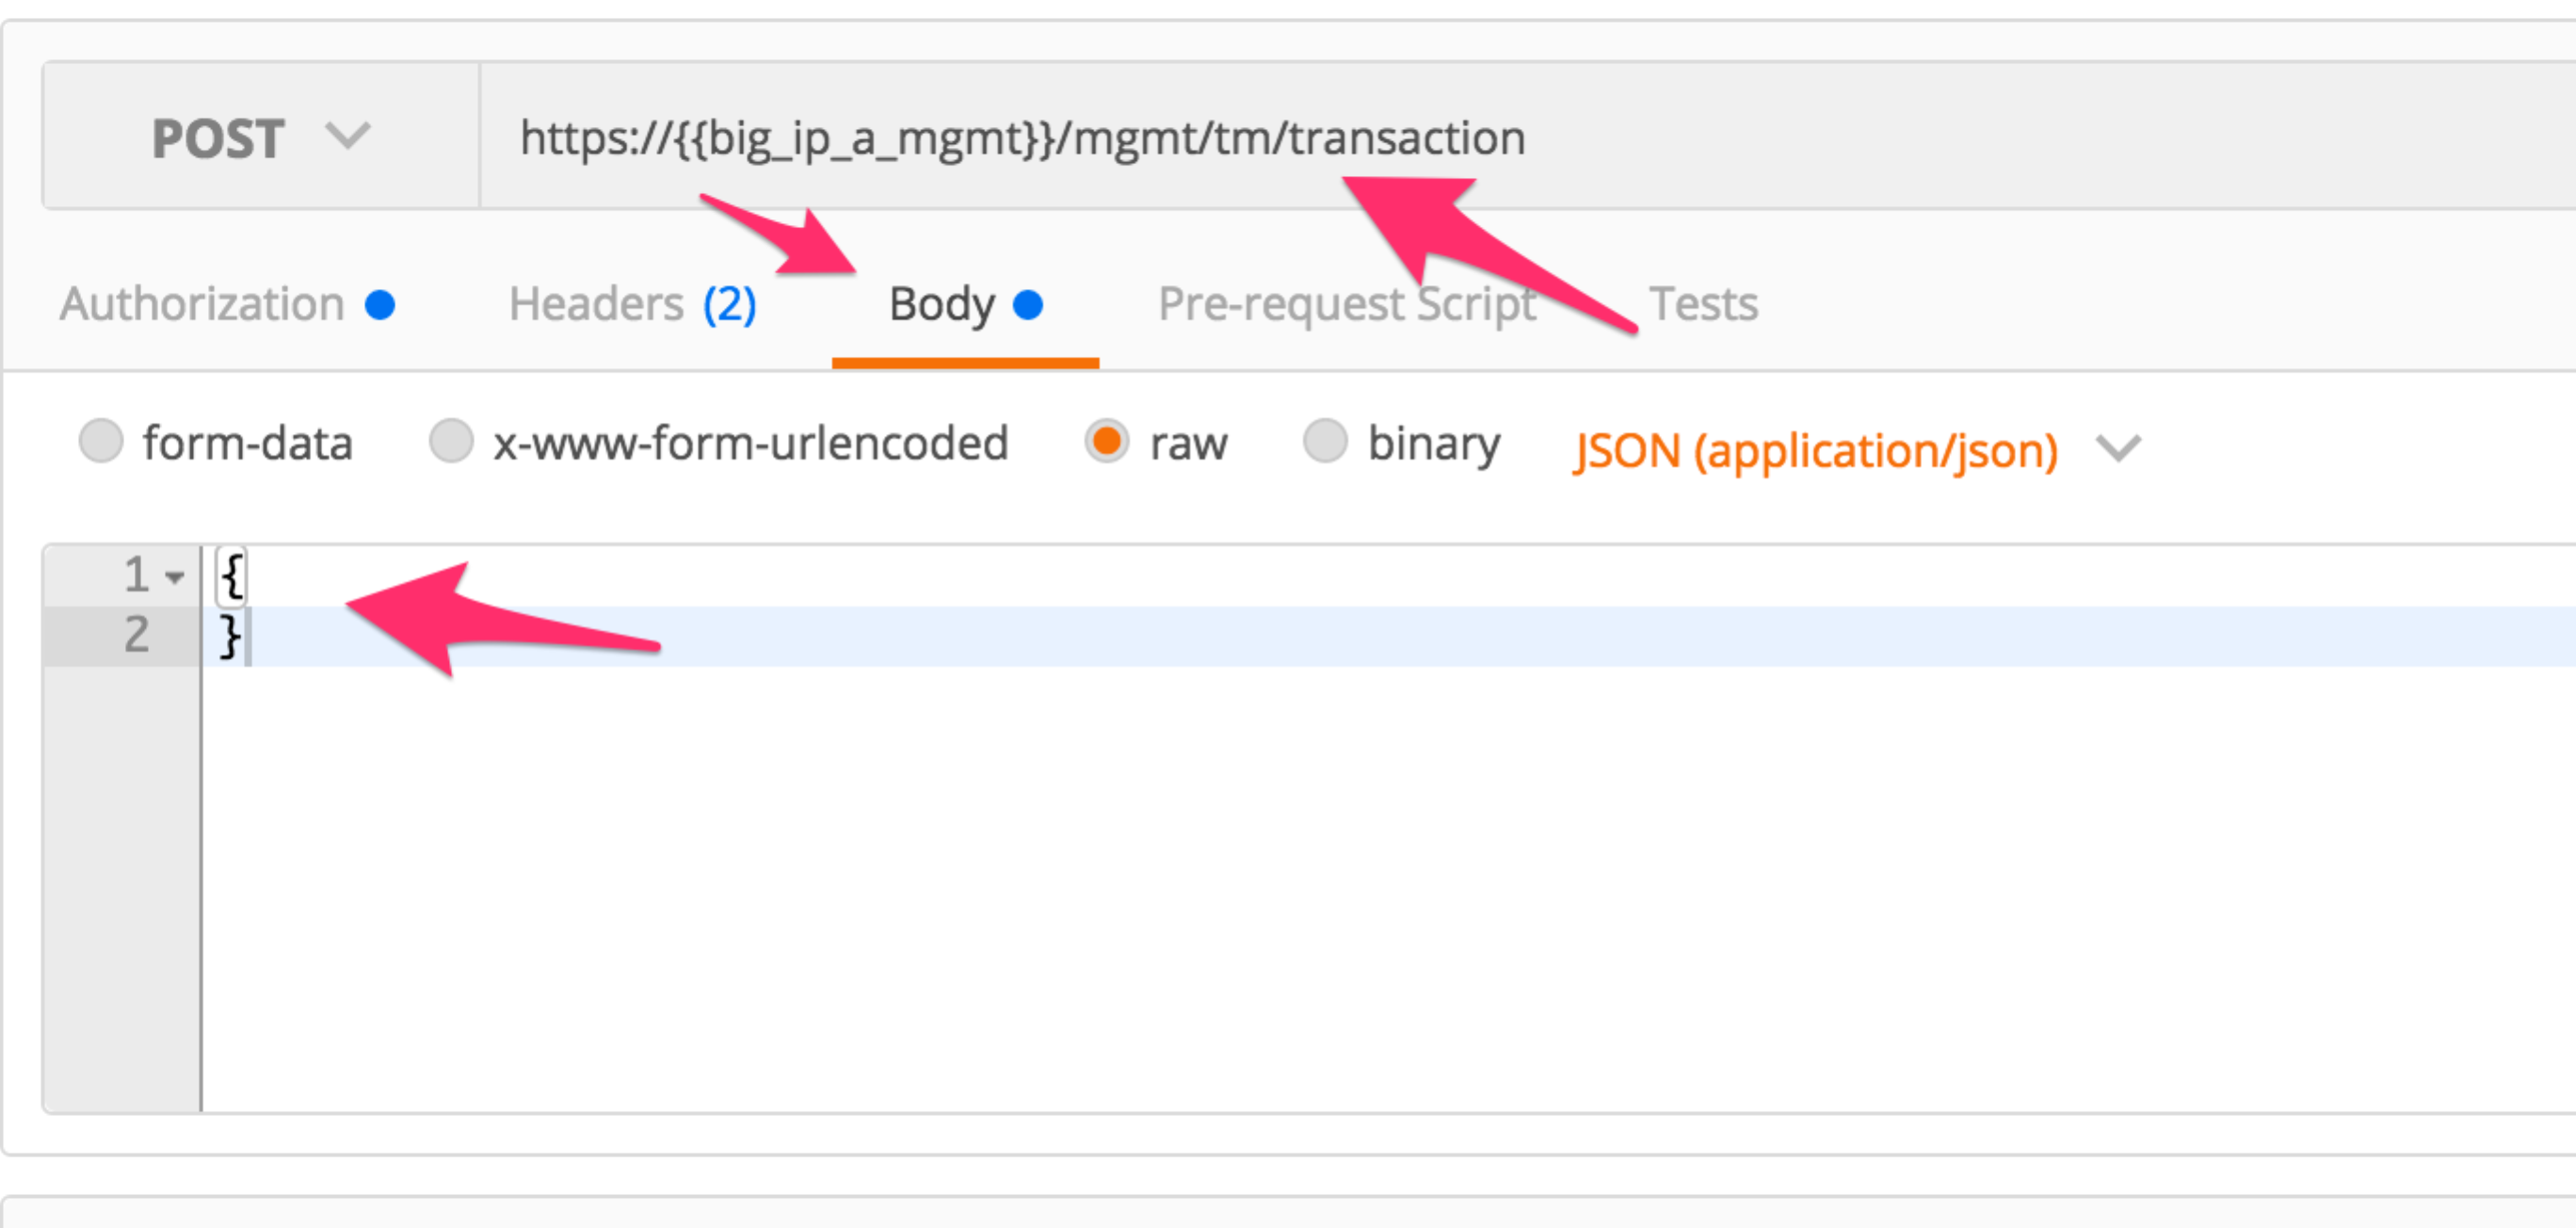
Click the ‘Step 1: Create a Transaction’ item. Examine the URL and JSON body. We will send a POST to the /mgmt/tm/transaction worker with an empty JSON body to create a new transaction.
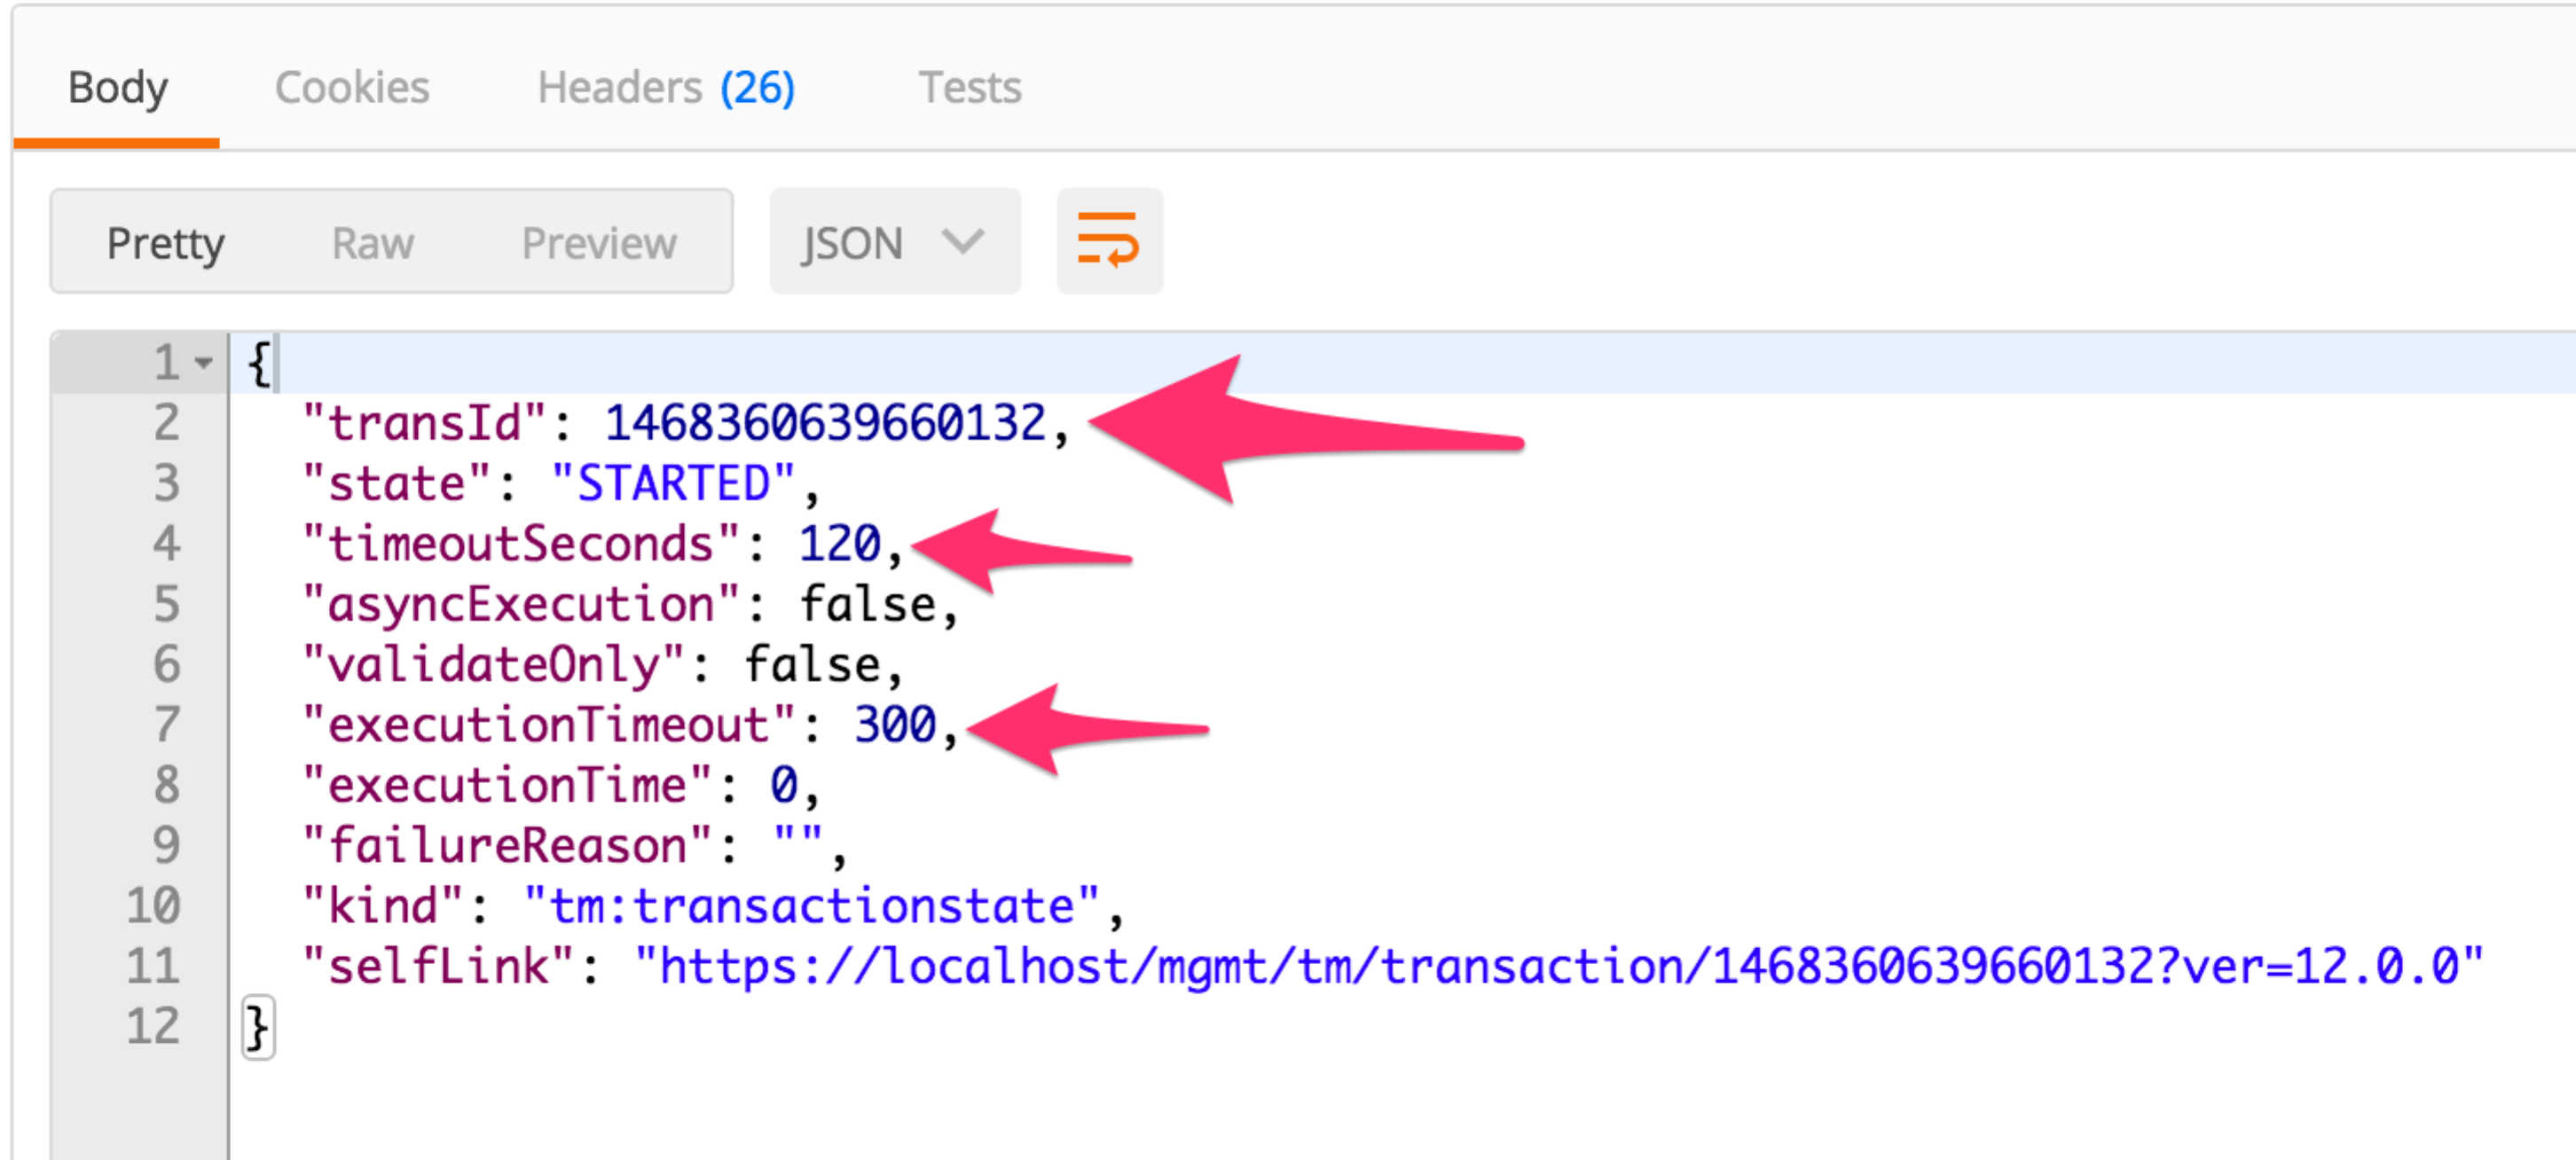
Click the ‘Send’ button to send the request. Examine the response and find the ‘transId’ attribute. Save the value of this attribute in the ‘transaction_id’ environment variable. Additionally notice that there are timeouts for both the submission of the transaction and how long it should take to execute. Be aware that after the ‘timeoutSeconds’ value, this transId will be silently removed:

Click the ‘Step 2: Add to Transaction: Create a HTTP Monitor’ item in the Postman collection. This request is the same as a non-transaction enabled request in terms of the request type (POST), URI and JSON body. The difference is we add a
X-F5-REST-Coordination-Idheader with a value of thetransIdattribute to add it to the transaction: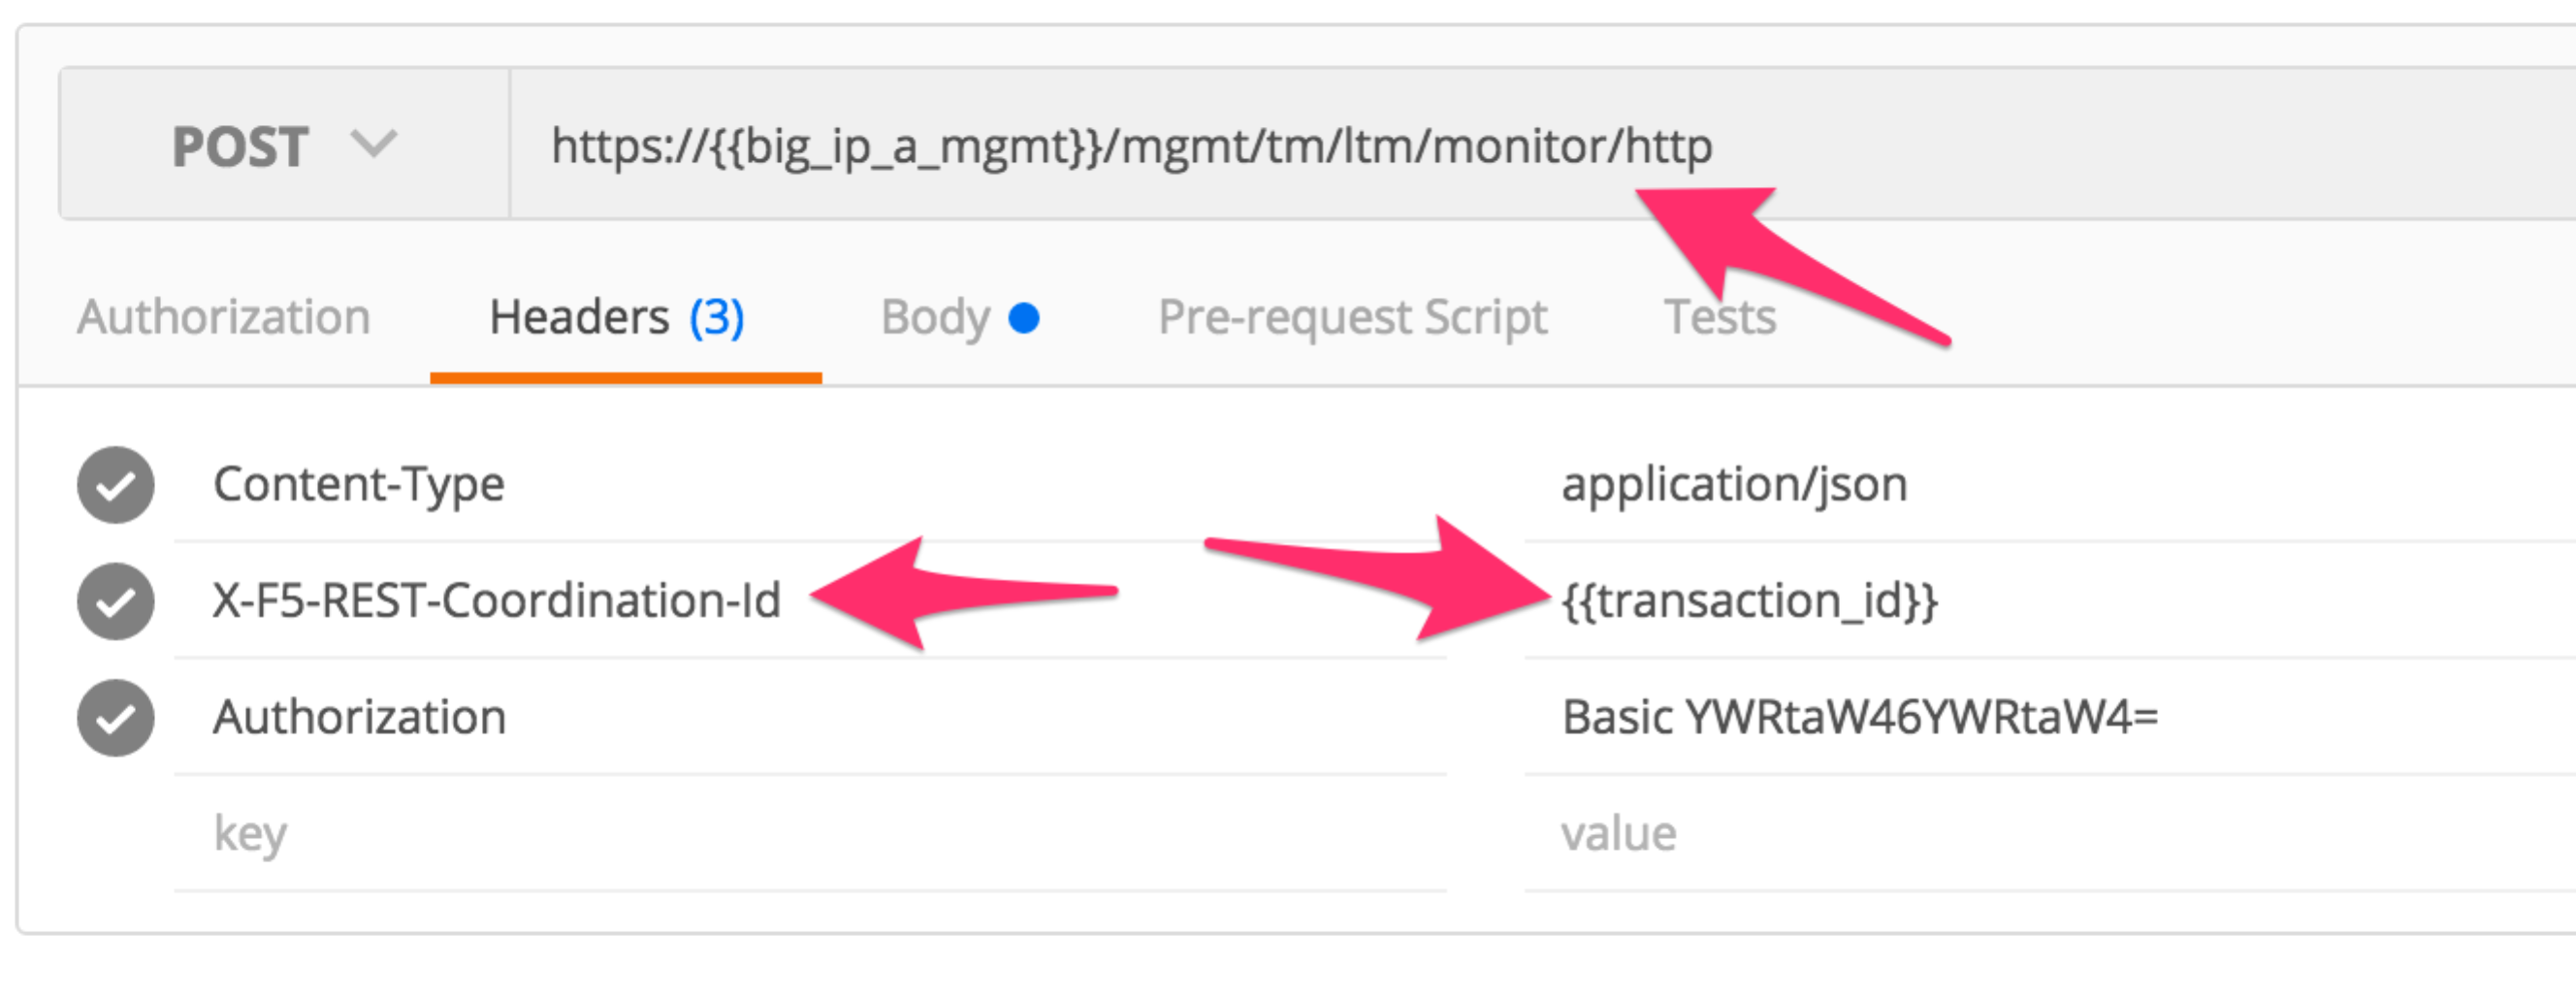
Click the ‘Send’ button and examine the response
Examine and click ‘Send’ on Steps 3-6 in the collection
Click ‘Step 7: View the Transaction queue’. Examine the request type and URI and click ‘Send’. This request allows you to see the current list of commands (ordered) that are in the transaction.
Task 2 – Modify a Transaction
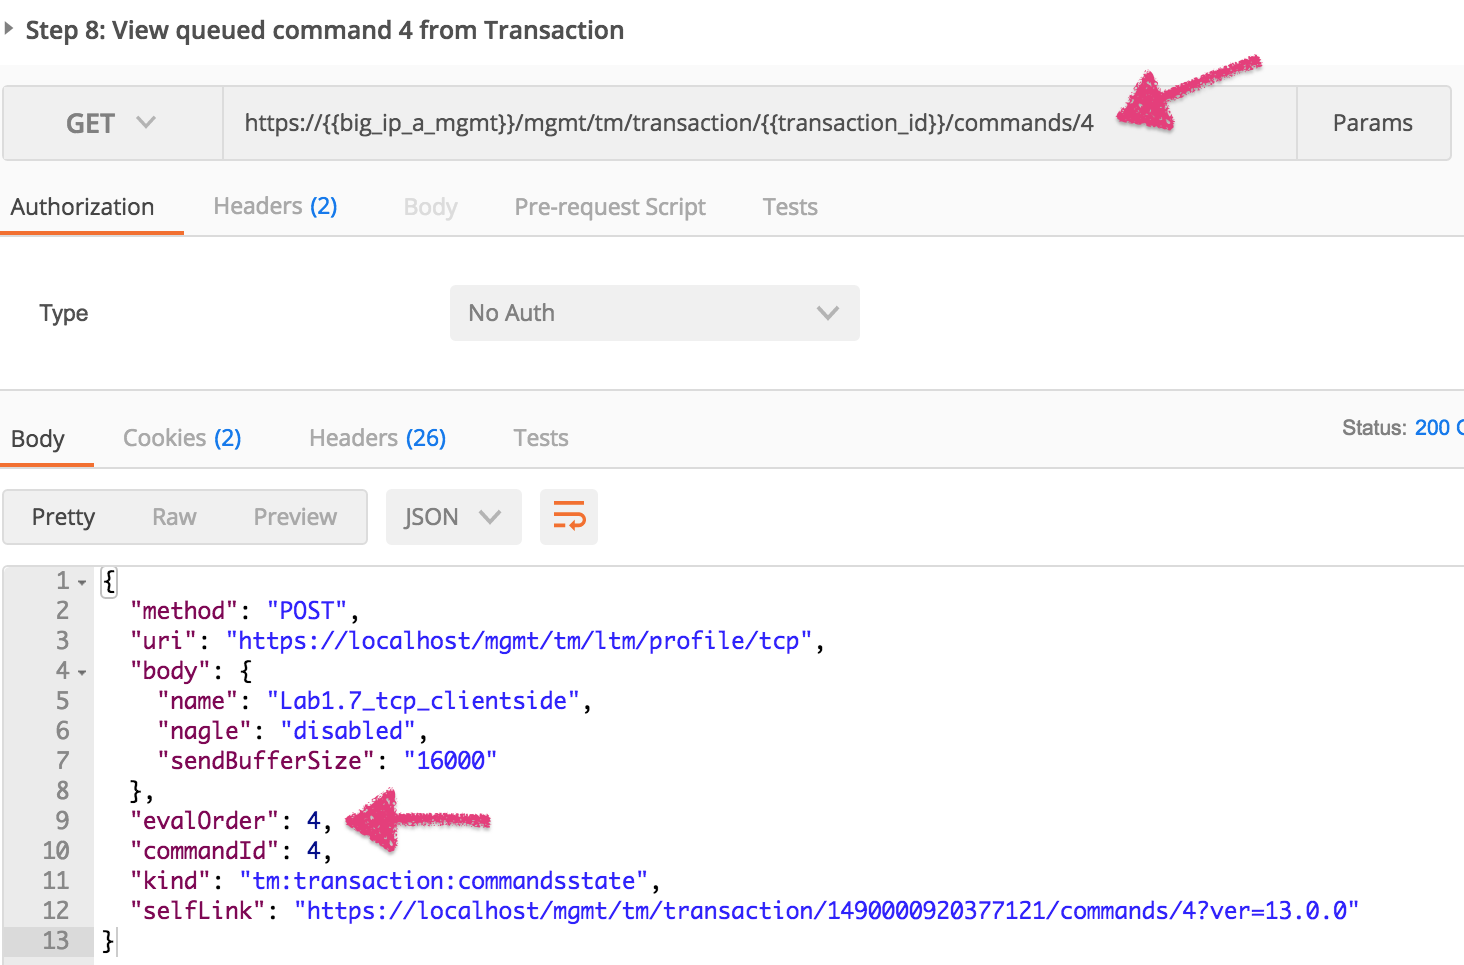
- Click the ‘Step 8: View queued command 4 from Transaction’ item in the collection.
Examine the request type and URI. We will GET the queued command number 4 from
the transaction list.
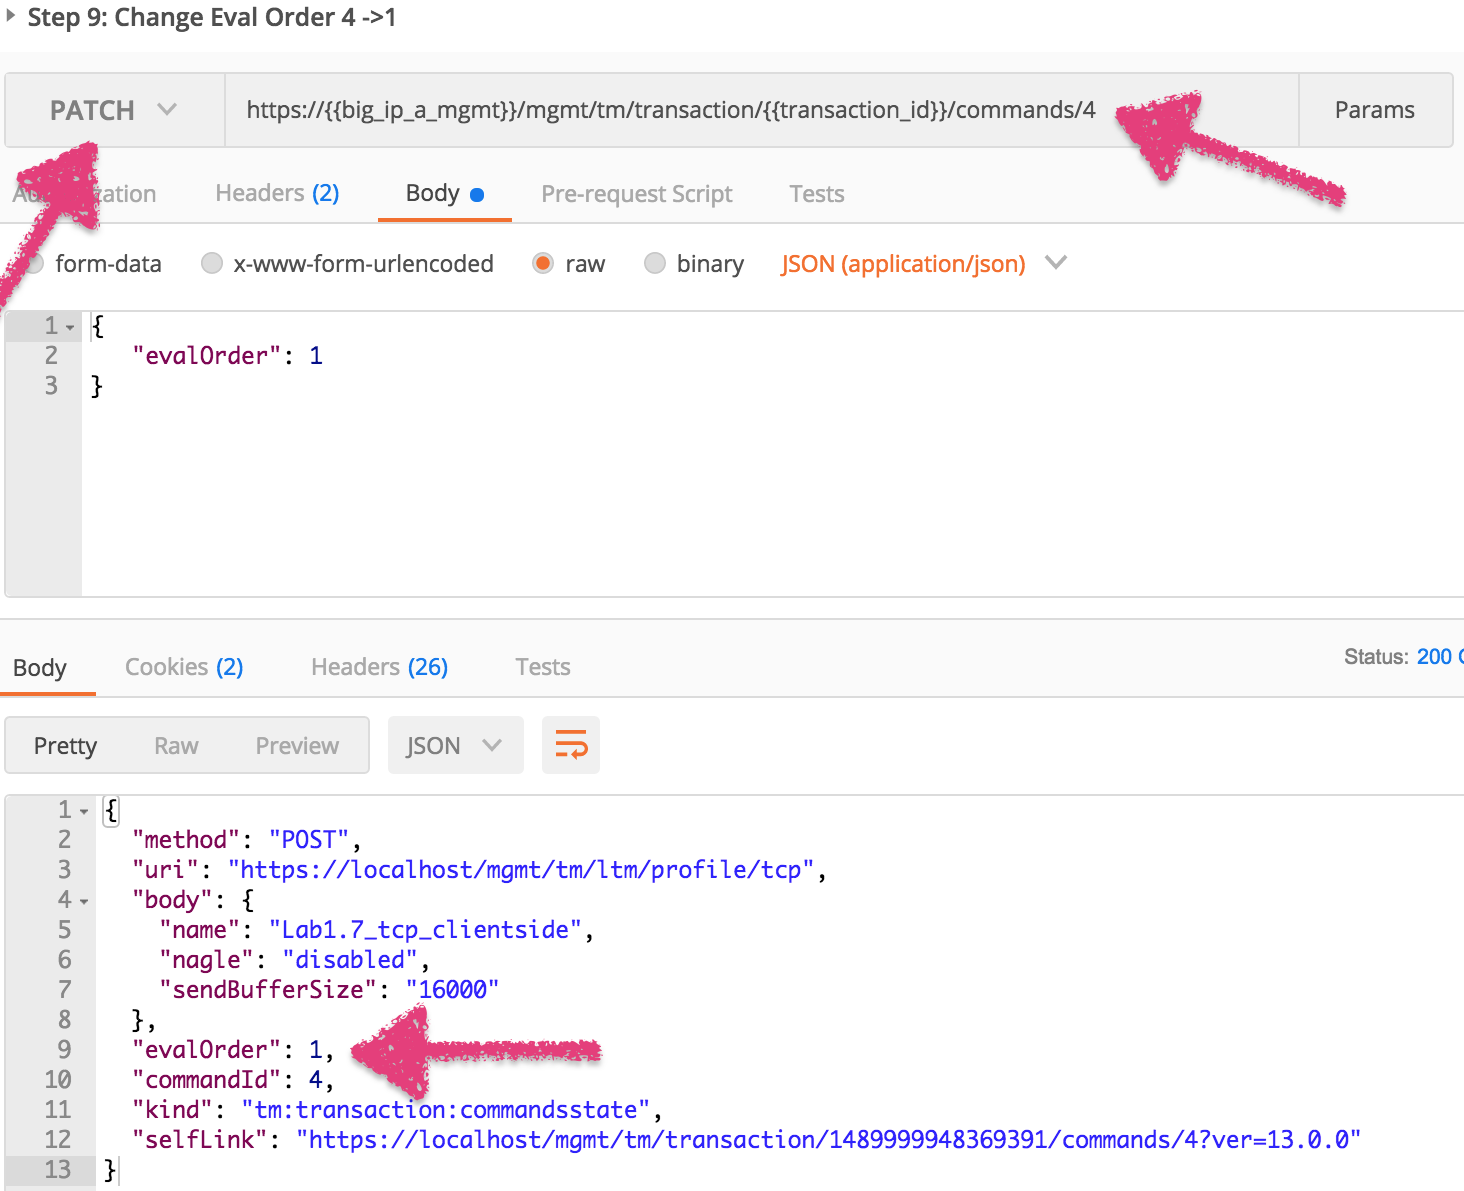
- Click the ‘Step 9: Change Eval Order 4 ->1’ item in the collection.
Examine the request type, URI and JSON body. We will PATCH our
transaction resource and change the value of the ‘evalOrder’ attribute,
from 4 to 1, to move at the first position of the transaction queue:
- Click the ‘Step 10: View the Transaction queue changes’ item in the collection. Examine that the transaction number 4 has moved into position 1 and all other transactions eval order has moved accordingly.
Task 3 – Commit a Transaction
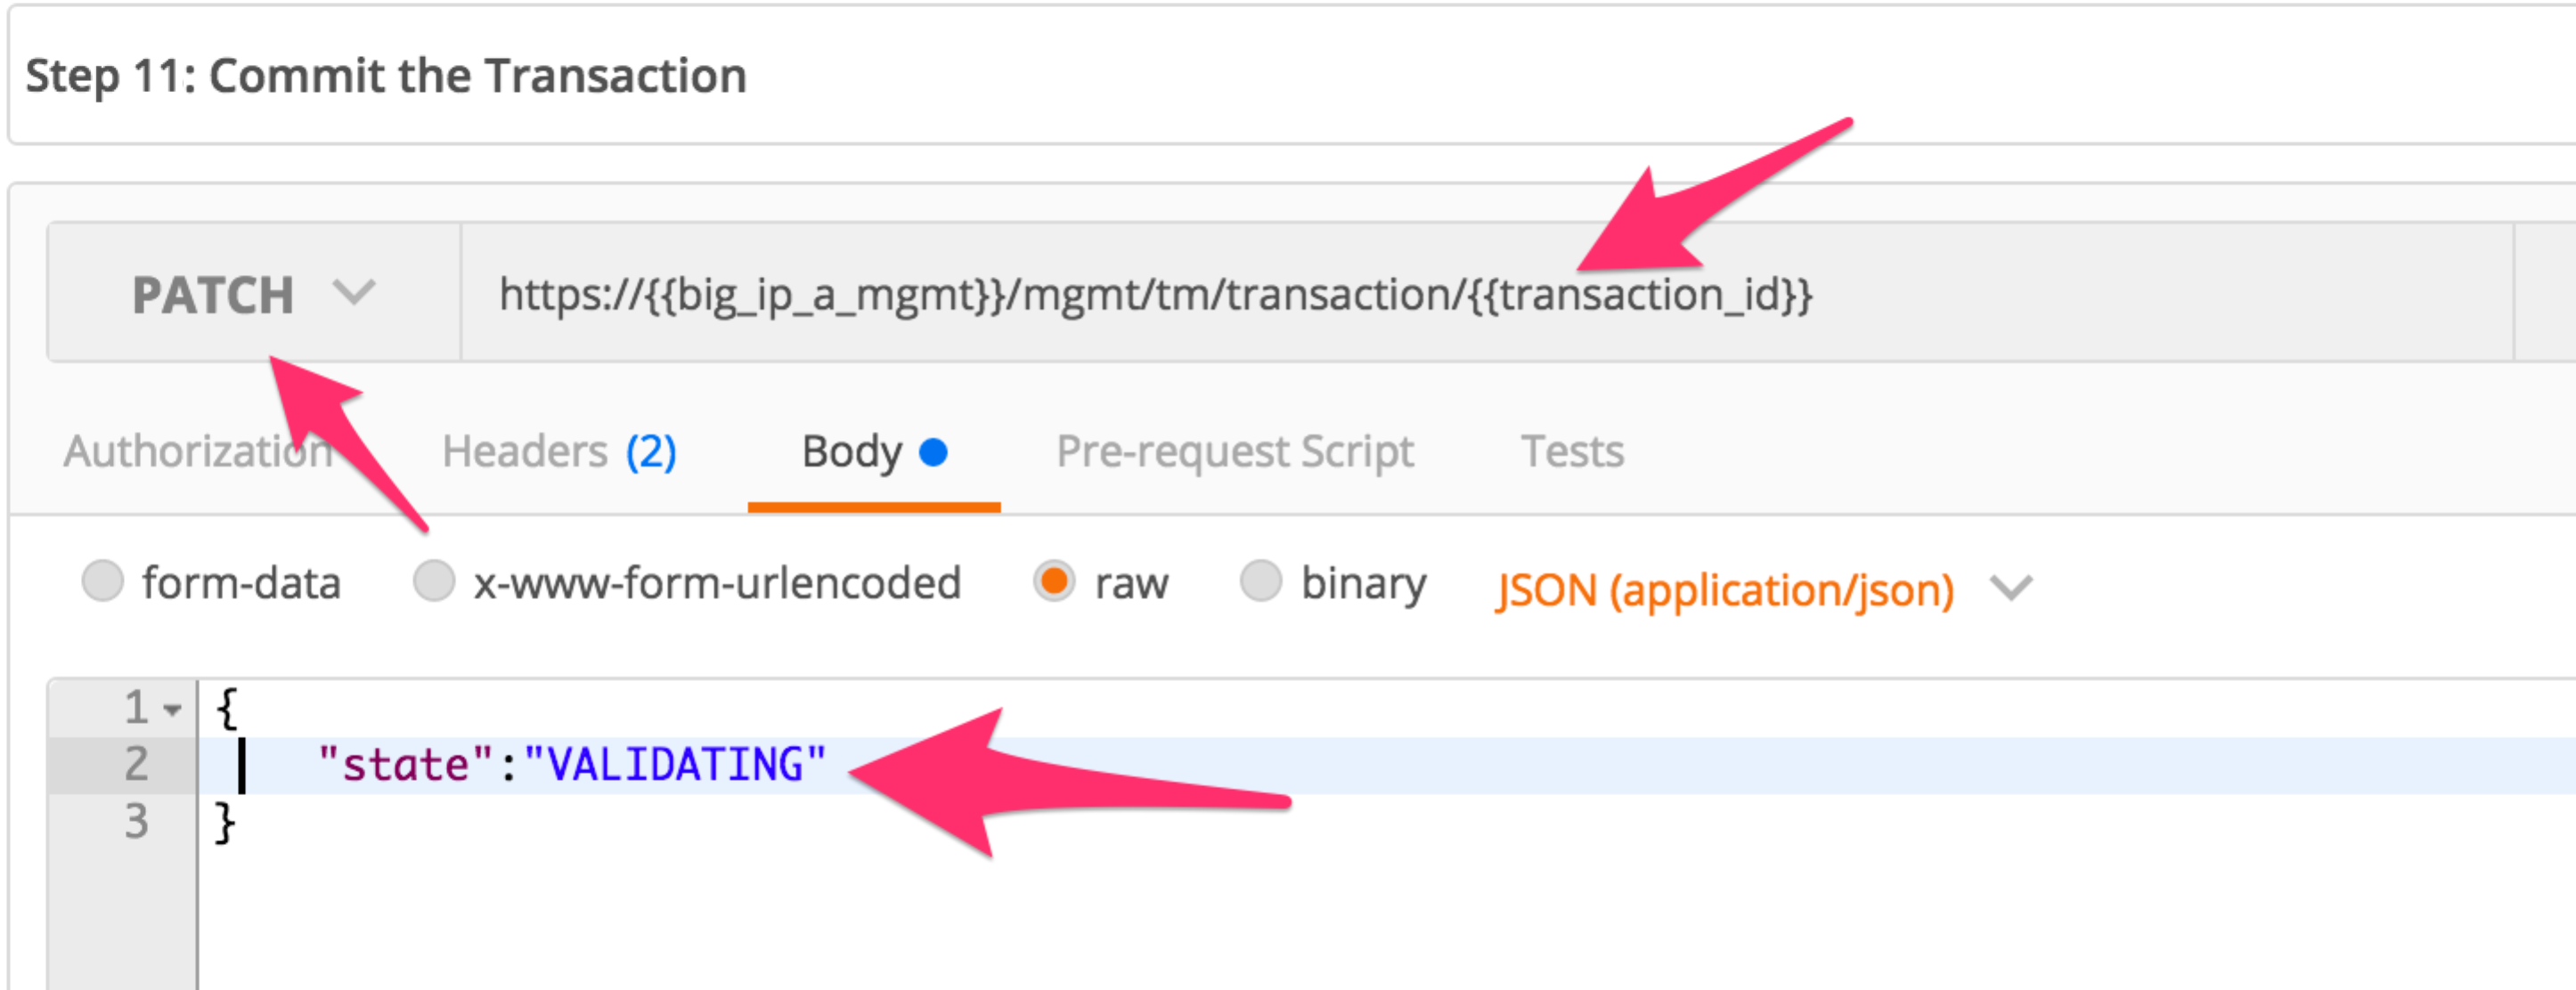
- Click the ‘Step 11: Commit the Transaction’ item in the collection.
Examine the request type, URI and JSON body. We will PATCH our
transaction resource and change the value of the ‘state’ attribute
to submit the transaction:
- Click the ‘Send’ button and examine the response.
- Verify the config was created using TMUI or REST requests.
경고
When sending the Header X-F5-REST-Coordination-Id, the
system assumes you want to add an entry in the transaction
queue. You MUST remove this header if you want to issue
transaction queue changes (like deleting an entry from the
queue, changing the order, commiting a transaction). If you
don’t remove the header in that specific case, the system
will send a 400 with the following type of error:
“message”: “Transaction XXXXX operation .... is not allowed
to be added to transaction.”